Return Operations
There are two ways to return items in the system. The user can return one item at a time or return items from the receipt.
An operation that returns an item by pressing the Return item button.
When you press the Return item button the POS turns into return mode, displayed with a red boarder around the POS onscreen receipt:
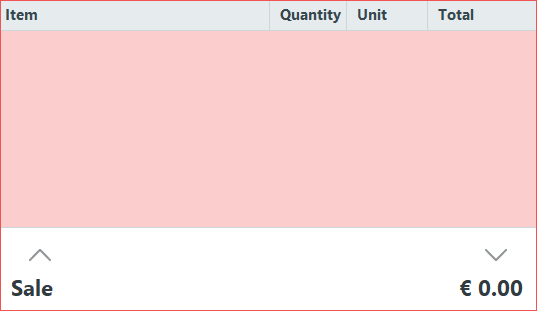
When the POS is in return mode you can return an item the same way as you normally sell items. It then appears in the item line with a negative quantity value.

To return more items, press Return item button before selling each item.
With this operation you can return transactions done from any store or terminal, as long as the transactions have been replicated to the central database. Use this operation when you have the receipt number of the transaction that is going to be returned.
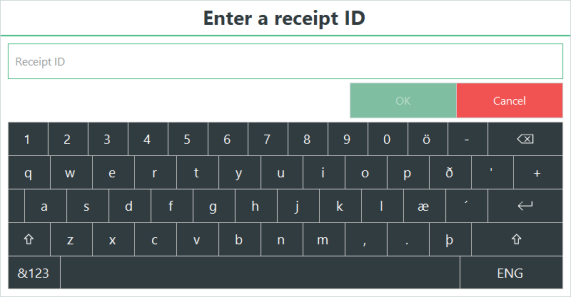
Press Return Transaction, enter the receipt ID and press OK.
This window is displayed:
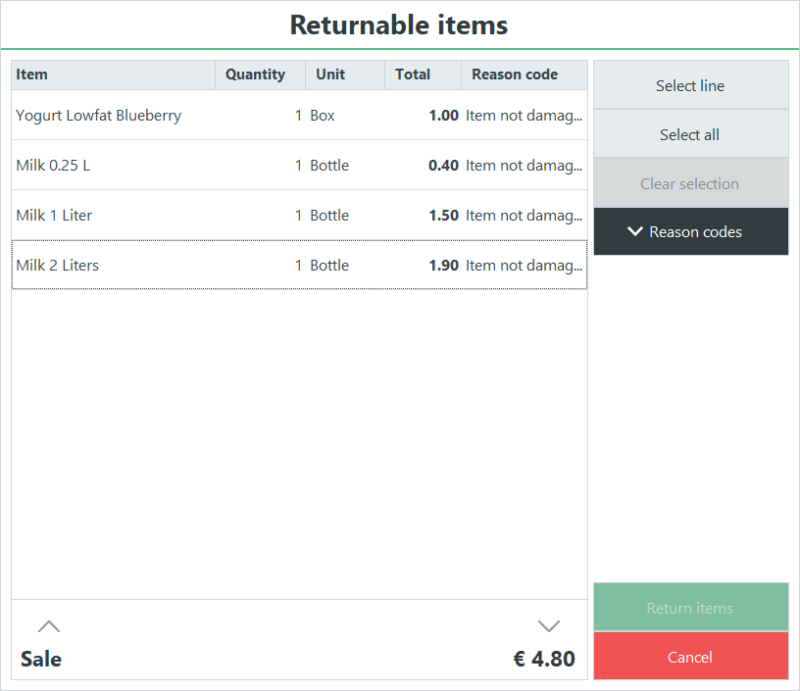
Here the user can press the button Select all or Select line, depending on which items on the receipt they wish to return. By pressing the Reason codes button, a list of available reason codes will be shown that can be set on each item.

At least one line has to be selected. All selected lines need to have a reason code selected.
After pressing the Return items button, the selected item lines are now part of the transaction with a negative quantity.


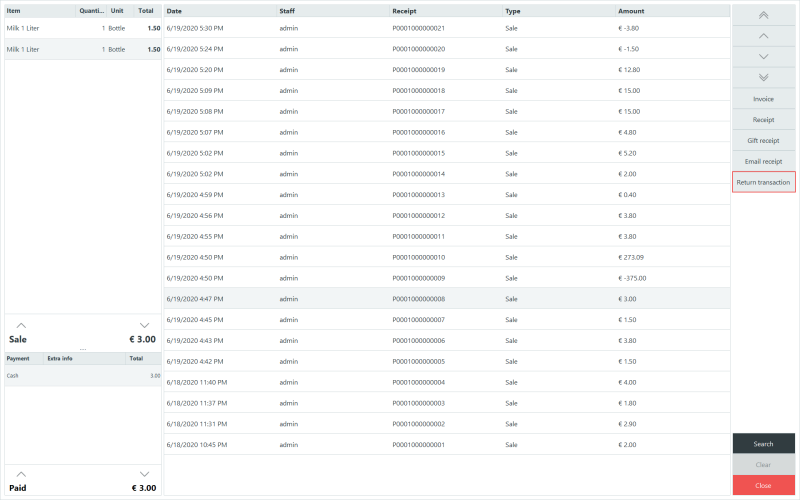
It is also possible to return transactions by using the operation, Show Journal (Daily Journal). In Show Journal, you find and select the receipt that is being returned and press button Return Transaction to go through the return process. The returned transactions done through the Show Journal operation are only saved locally.
For the Return item or Return transaction buttons, you can set two parameters to define the behavior of the reason codes when returning items. In the button properties dialog, you will see a Selection type dropdown with the following values:
- Default: The default reason code for return that is set on the store will be used when returning items.
- List: A dialog with all the available reason codes will be shown before a return operation where you can select the reason code that will be set to all returned items.
- Specific: When specific is selected, the second dropdown Reason code, becomes available which allows you to set a specific reason code that will be set to all returned items.
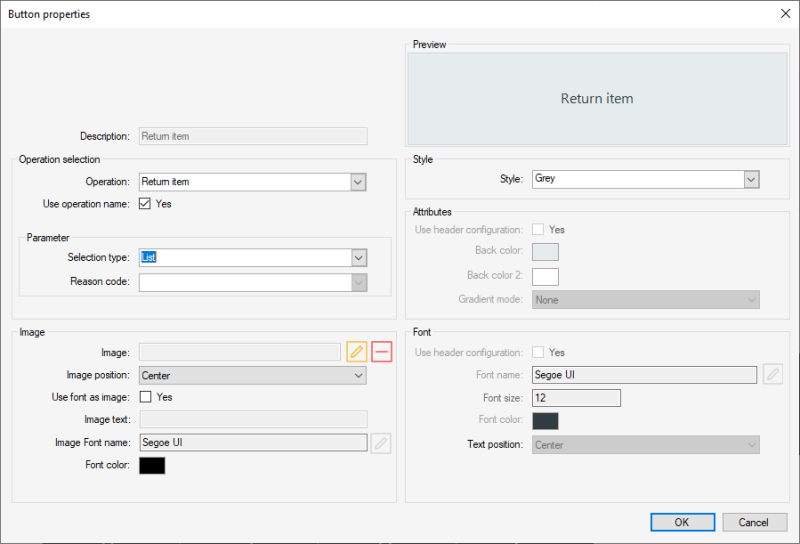

If no parameters are set, the default reason code for return set on the store will be used. If there are no reason codes available, a default reason code will be created when trying to return an item or transaction.
The default reason codes set by using these parameters can be changed from the return transaction dialog or by using the Set reason code operation.
| Updated: | June 2020 |
| Version: | LS One 2020 |

